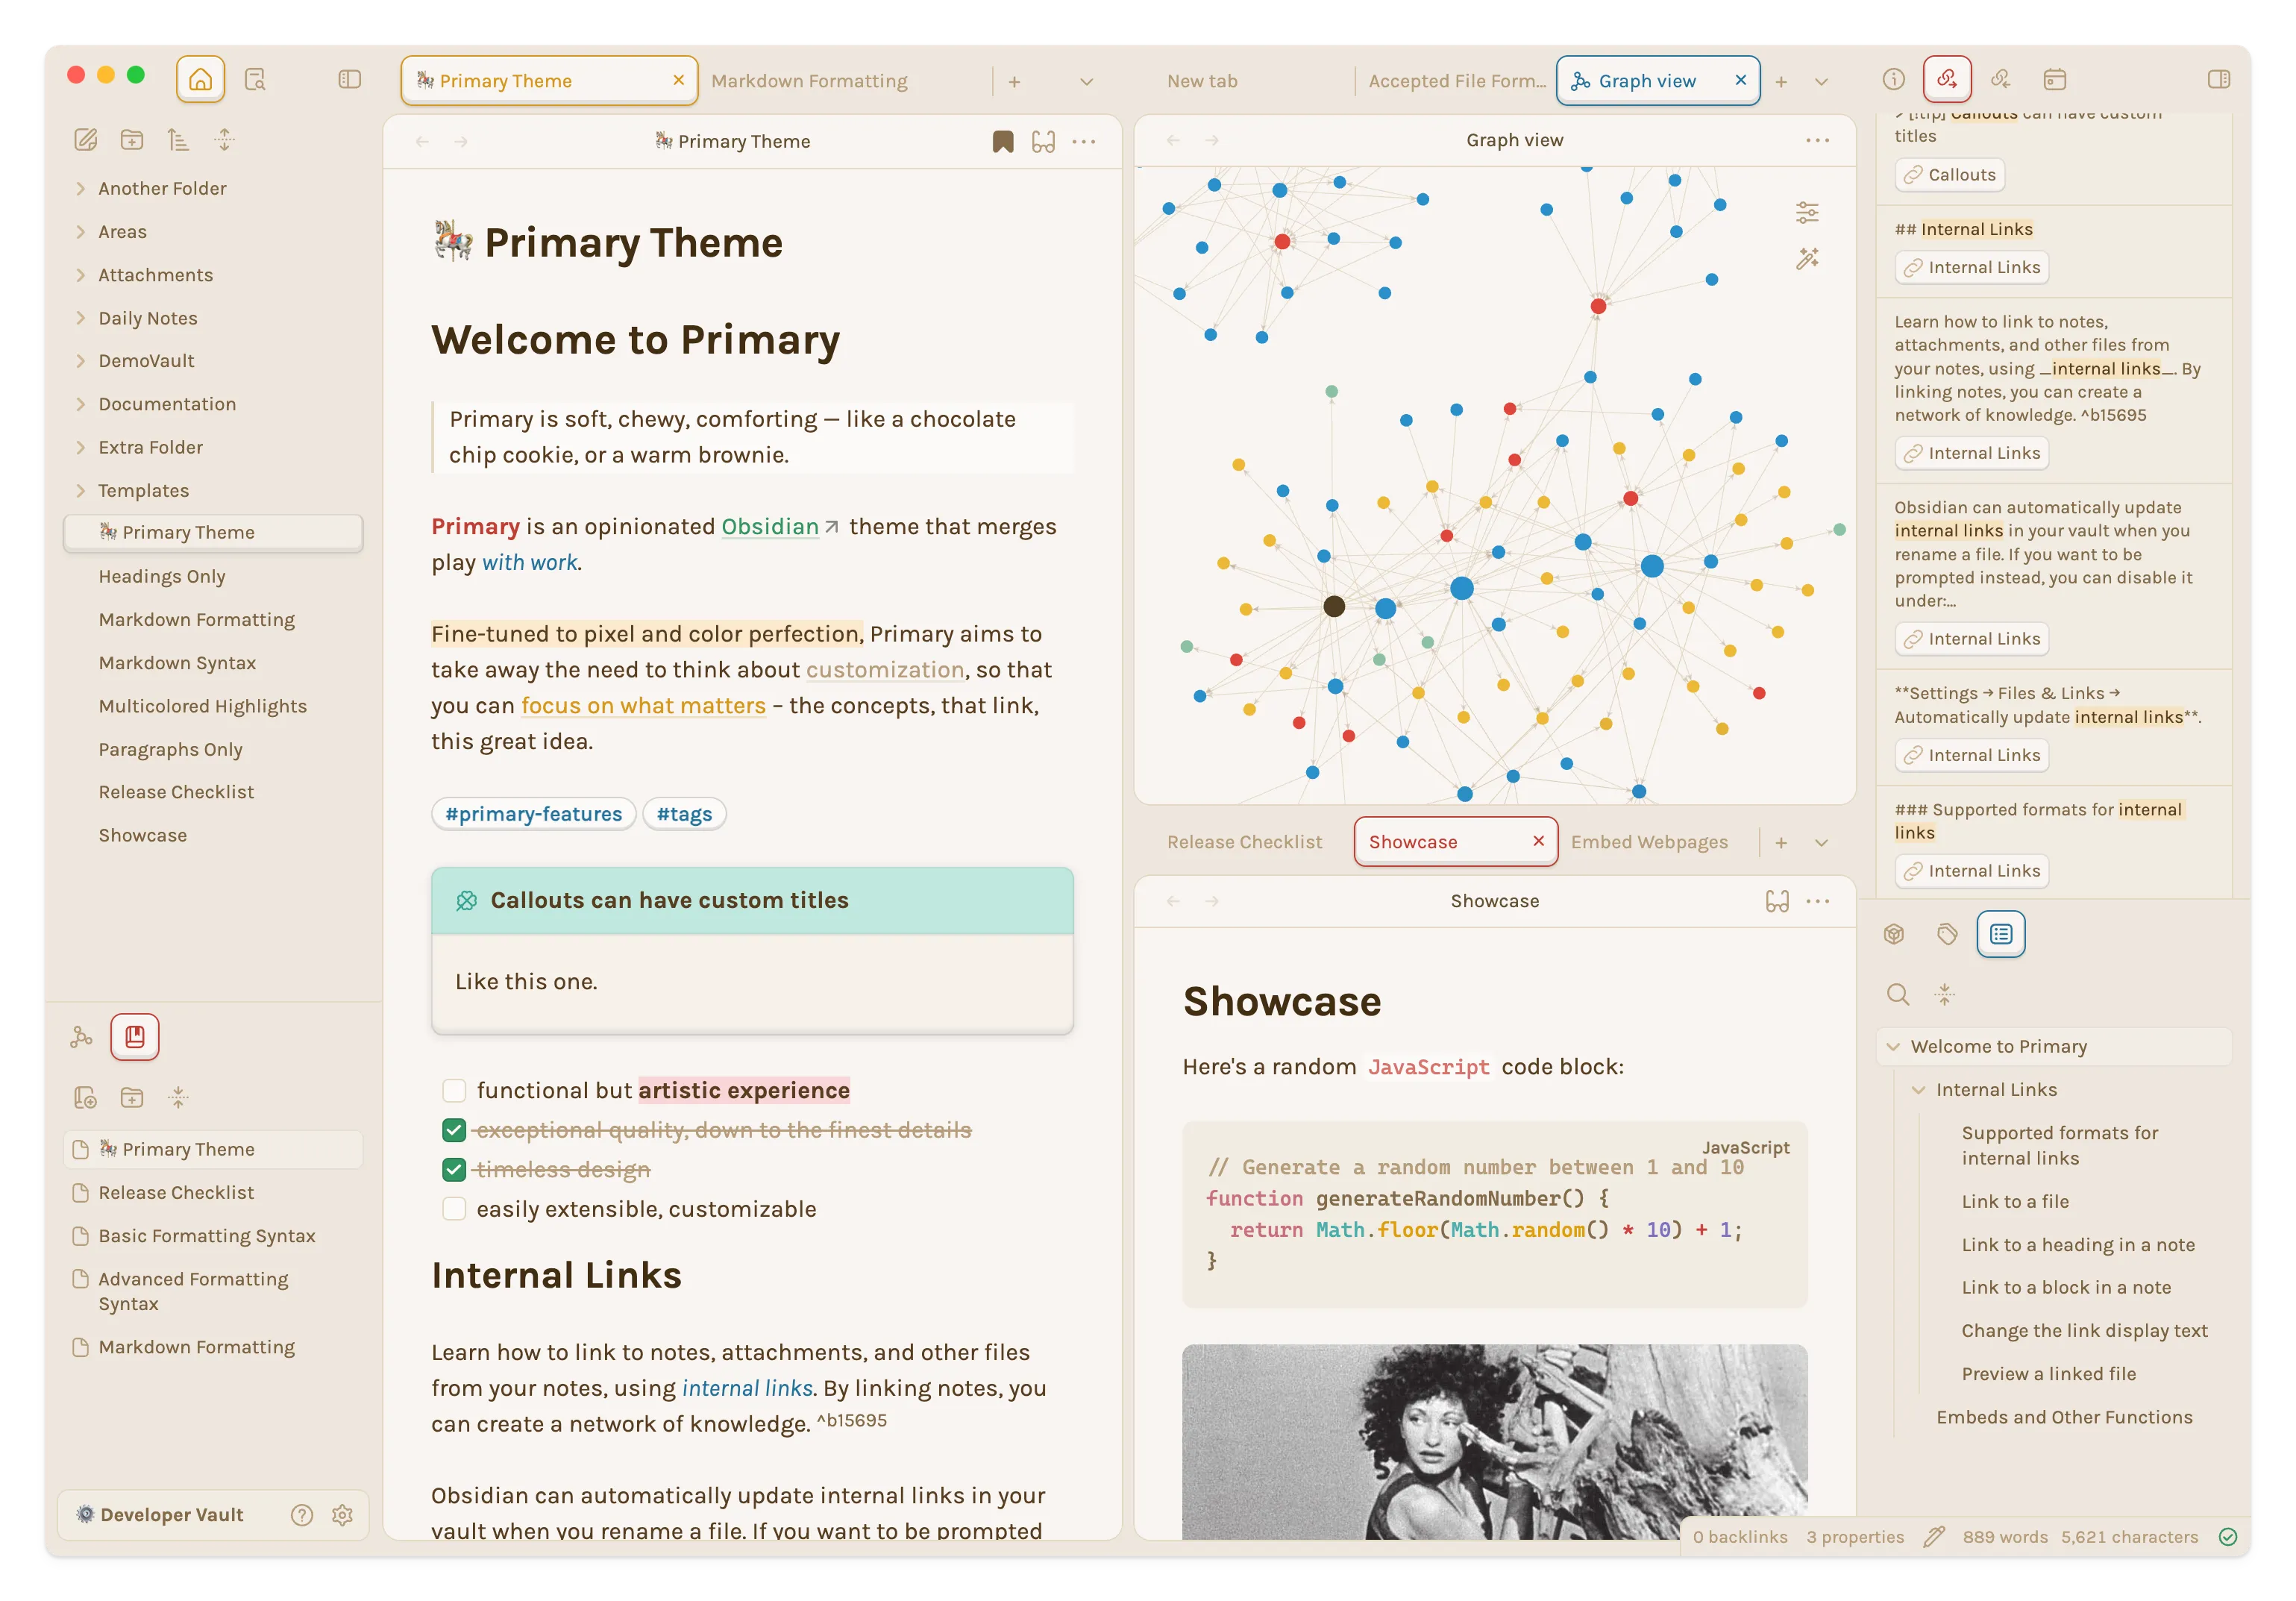
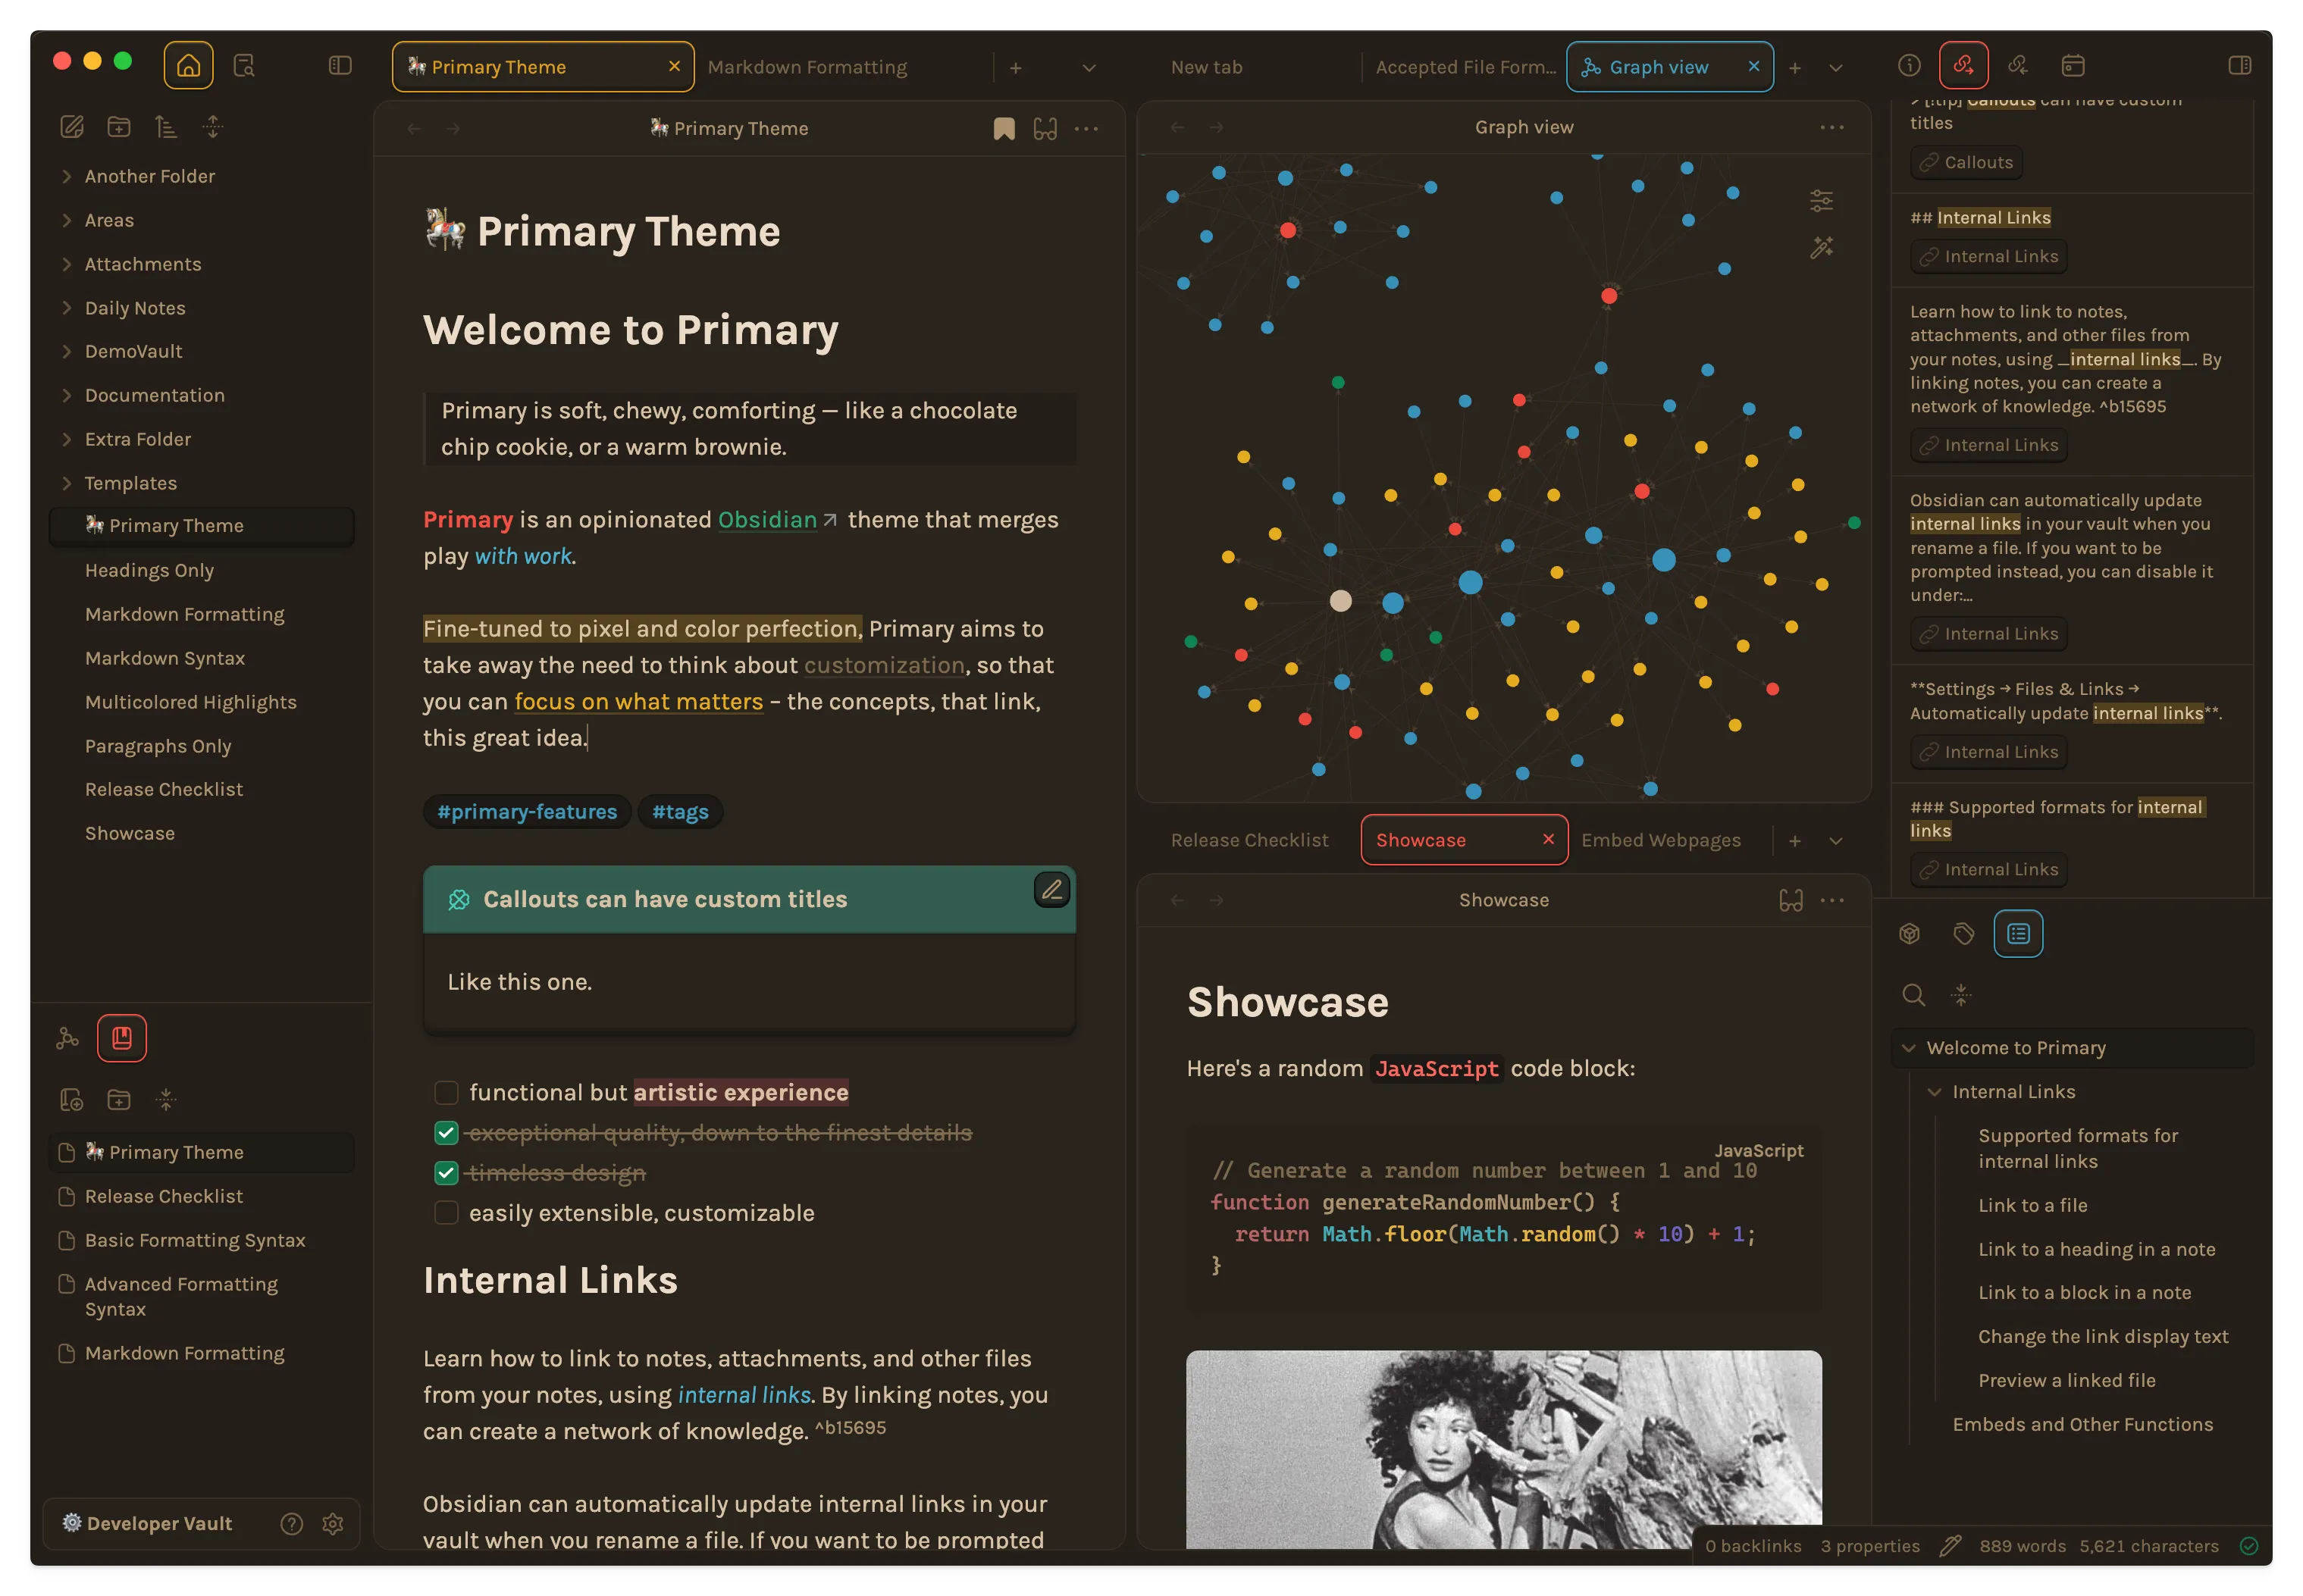
Karla


Karla is a great sans serif font for those who want to add quirkiness to Primary.
This is a guide especially made for Primary v1.0 users that want to go back to using the old default font of Primary — Karla!
This setup requires the Style Settings plugin. The steps below includes how to install and use it.
Many of you have requested Karla’s presence back in Primary, so here’s how to do it.
- Start by downloading Karla via Google Fonts. Karla is a free font so no purchases needed. On the link, press
Get Font, and a new page will show with Karla and 2 buttons. PressDownload All. This will download a.zipfile. - Once downloaded, extract the contents of the
.zipfile. You should have extracted a folder calledKarla. - Go inside the
Karlafolder, and in it you should see something along the lines ofKarla-Italic-Variable...-wght.ttfandKarla-Variable...-wght.ttf. These are font files. Install them.- If you’re on Windows, select the two
.ttffiles, right click, and pressInstall all - If you’re on macOS, open a
.ttffile, and press theInstallbutton. Do this for both.ttffiles.
- If you’re on Windows, select the two
- Once installed, go to your Obsidian Vault and open up Settings.
- Go to Appearance tab and scroll down to the Font section. You should see Interface Font, Text Font, and Monospace Font. We’re going to apply Karla as our Interface Font and our Text Font.
- Under Interface Font, click
Manage. - Under Font Name, find Karla. Once found, press
Add, and clickSave. - Do the same for Text Font. Under Text Font, click
Manage. Find Karla, pressAdd, and clickSave. - We’re not finished yet though! You might notice that Karla is a bit thicker than usual. If you like it, you can stop here, but if not, keep reading to fix this.
- Install Style Settings via the Community Plugins.
- Once installed, go back to the main page of Settings, and go to the Style Settings tab.
- On the search bar of Style Settings, type
Font Weight. This should produce results of settings that allow you to change global font weight settings. - Set the followings settings accordingly:
- Thin Font Weight: from 150 → 100
- Extralight Font Weight: from 250 → 200
- Light Font Weight: from 350 → 300
- Normal Font Weight: from 450 → 400
- Medium Font Weight: from 550 → 500
- Semibold Font Weight: from 650 → 600
- Bold Font Weight: from 750 → 700
- Extrabold Font Weight: from 850 → 800
- Black Font Weight: from 900 → 900
- Bold Modifier: keep at 200
- Once you’re done with the font weights, open up the Command Palette.
- Find
Reload app without savingand pressEnter. - And you’re done! You should be good to go.